In the field of architectural visualization, SketchUp has always been one of the favorite modeling tools for designers. However, traditional rendering workflows often require a lot of time and effort - from V-Ray parameter tuning to Enscape real-time preview, and then to post-processing in Photoshop, the entire process can take hours or even days.
Today, the emergence of AI rendering technology has completely changed the game. With AI, you can transform a simple SU white model into a photorealistic rendering with real lighting, materials, and atmosphere in just a few minutes.
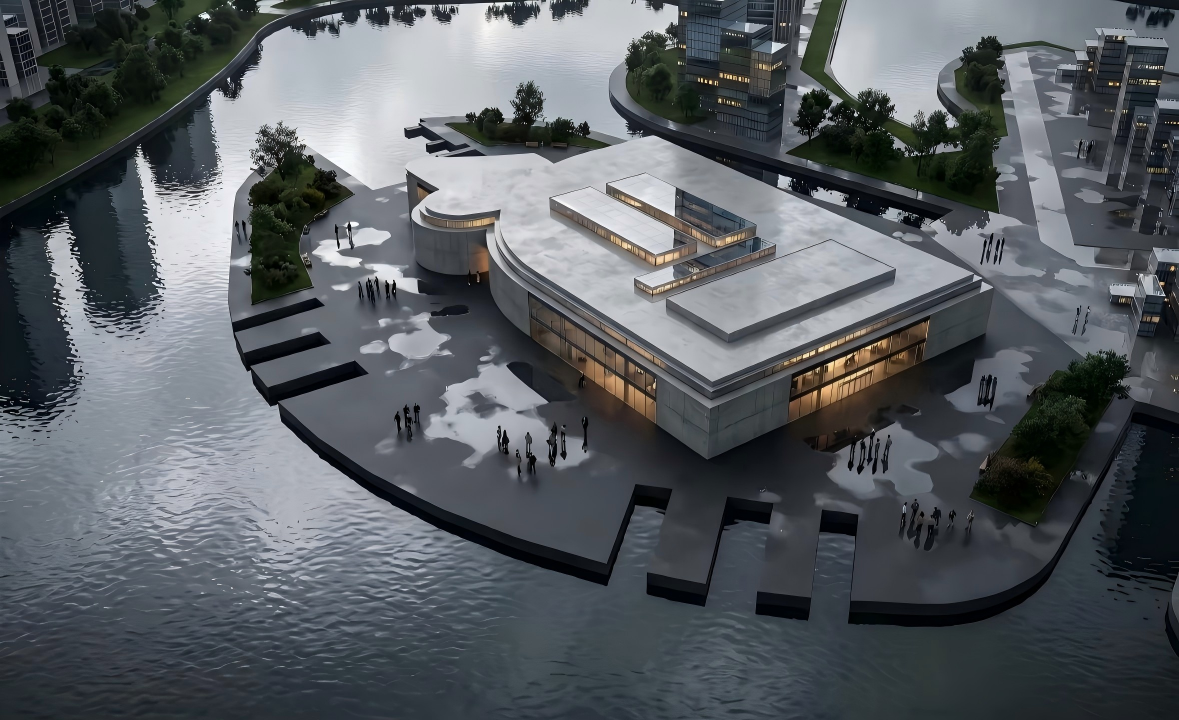
This article shares a proven complete workflow: from SketchUp model export, to using AI rendering tools to generate renderings, and finally to post-optimization.
1. Preparation: SketchUp Model Export
The quality of AI rendering largely depends on the quality of the input model. Here are the key points for exporting SU models:
- Remove unnecessary hidden objects and redundant components
- Ensure moderate polygon count (recommended less than 1 million polygons per scene)
- Clean up duplicate materials and maintain standardized naming
- Use SketchUp's Camera tool to set up composition
- Recommended: 2 Point Perspective
- Save Scenes for subsequent export
2. Mainstream AI Rendering Tools
1. Veras AI (EvolveLab)
Features: Designed specifically for architectural design, directly embedded in Revit and Rhino, supports SketchUp model import. Understands architectural elements and maintains geometric accuracy.
2. Midjourney + Image-to-Image
Features: Strongest artistic effects, requires use with Image-to-Image function.
3. Stable Diffusion + ControlNet
Features: Highest controllability, open source and free. Through ControlNet, you can precisely control lines, depth, normals, and more.
3. Complete Workflow
- Line art (Hidden Line mode) - for ControlNet Canny
- Shadow map (Shaded mode, textures off) - for ControlNet Depth
- ControlNet 0: Canny model, weight 0.5-0.7, controls line structure
- ControlNet 1: Depth model, weight 0.6-0.8, controls spatial depth
4. Key Tips and Common Issues
Controlling Geometric Accuracy
The most common problem with AI is distorting architectural structures. Solutions:
- Increase ControlNet weight (0.7-0.9)
- Decrease Denoising strength (0.4-0.6)
Material and Texture Consistency
AI often generates inconsistent materials. Describe material details explicitly in the prompt and use LoRA models trained for specific material styles.
The real value of AI is not to replace designers, but to free designers from tedious technical operations and focus more on creative design itself.
Summary
Mastering AI rendering tools has become an essential skill for contemporary architects and visualization artists. This complete workflow from SketchUp to AI rendering can help you significantly improve work efficiency while maintaining high-quality output results.